LaTeX是一套非常好用的排版系統,本文介紹如何快速建構環境,在VSCode中編輯以及編譯LaTeX。Windows及Linux系統皆適用。
安裝編譯環境
texlive
此包容量雖然很大,但安裝完之後就搞定,不太會有缺package的情形產生。
For Windows
至此處下載install-tl.zip,解壓縮後直接執行install-tl-windows.bat,如果想省一些空間而不安裝某些套件,則執行install-tl-advanced.bat。
For Linux
參考此網頁:1
2
3
4wget http://mirror.ctan.org/systems/texlive/tlnet/install-tl-unx.tar.gz
tar -xzf install-tl-unx.tar.gz
cd install-tl-20170102 #日期可能會不一樣
sudo ./install-tl
環境變數看自己要不要設定,我在VSCode中都是擺絕對路徑所以沒設定這個。
VSCode擴充功能
VSCode設定
For Windows
在使用者設定中添加下列設定:1
2
3
4
5
6
7
8
9
10
11
12
13
14
15
16
17
18
19
20
21
22
23
24
25
26
27
28
29
30
31
32
33
34
35
36
37
38
39
40
41
42
43
44
45
46
47
48
49
50
51
52
53
54
55
56
57
58
59
60
61"latex-workshop.latex.recipes": [
{
"name": "xelatex",
"tools": [
"xelatex"
]
},
{
"name": "pdflatex",
"tools": [
"pdflatex"
]
},
{
"name": "xelatex->bibtex->xelatex*2",
"tools": [
"xelatex",
"bibtex",
"xelatex",
"xelatex"
]
},
{
"name": "pdflatex->bibtex->pdflatex*2",
"tools": [
"pdflatex",
"bibtex",
"pdflatex",
"pdflatex"
]
}
],
"latex-workshop.latex.tools": [
{
"name": "xelatex",
"command": "C:\\texlive\\2018\\bin\\win32\\xelatex",
"args": [
"-synctex=1",
"-interaction=nonstopmode",
"-shell-escape",
"%DOC%.tex"
]
},
{
"name": "pdflatex",
"command": "C:\\texlive\\2018\\bin\\win32\\pdflatex",
"args": [
"-synctex=1",
"-interaction=nonstopmode",
"-file-line-error",
"%DOC%"
]
},
{
"name": "bibtex",
"command": "C:\\texlive\\2018\\bin\\win32\\bibtex",
"args": [
"%DOCFILE%"
]
}
],
這邊主要使用兩個指令:xelatex及bibtex,平常都是使用xelatex來編,只有寫某些文章需要編reference時才會用到bibtex。
為了方便何時該用哪種,上述config的recipes便派上用場,可以看到日常使用的部分我給此recipe取名”hw”,如果要編論文而需要reference,則會採用”thesis”,它會依序執行xelatex→bibtex→xelatex→xelatex,這是LaTeX中為了正確編出reference的用法。
For Linux
只需更動路徑:1
2"command": "/usr/local/texlive/2018/bin/x86_64-linux/xelatex"
"command": "/usr/local/texlive/2018/bin/x86_64-linux/bibtex"
使用
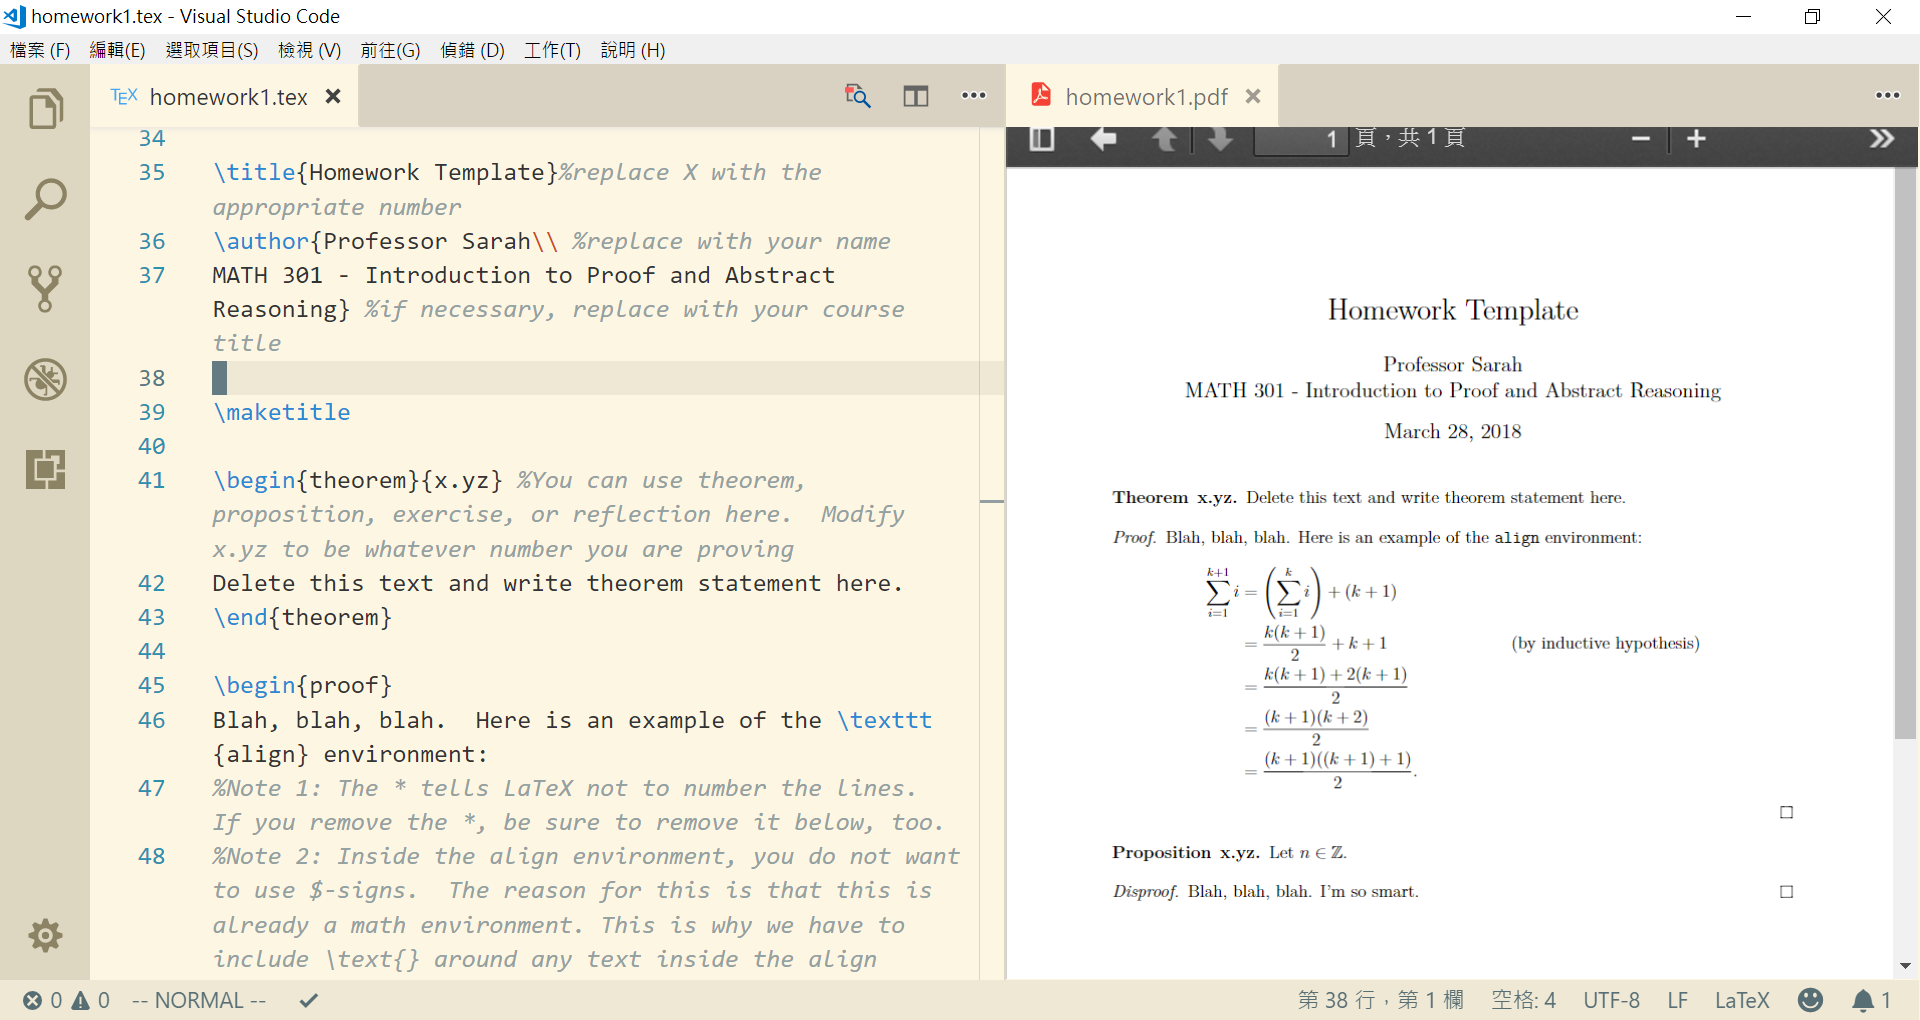
使用畫面如下:
圖片下方打勾的地方按下去可快速叫出LaTeX Workshop相關command,或者按<F1>叫出指令欄輸入LaTeX也可以快速找到各指令。
要編譯時選擇Build LaTeX project,此時它會要你選使用哪個recipe,選擇後就會開始編譯。也可以使用Build with recipe在後面幾次編譯手動選擇recipe,(例如論文每次都要連編4次可能會太慢,需要更動reference時再連編4次即可)。
附註
- 如果不想要一按儲存就開始Building,則在使用者設定中添加
"latex-workshop.latex.autoBuild.onSave.enabled": false
